Adding a New User in Microsoft 365 Admin Center
IT Glue Documentation · Standard Operating Procedure (SOP)
Executive Summary
This guide outlines the standard procedure for creating a new user account in the Microsoft 365 Admin Center, assigning an E3 license, and configuring the initial temporary password. Time to complete: ~3 minutes.
Procedure Steps
1
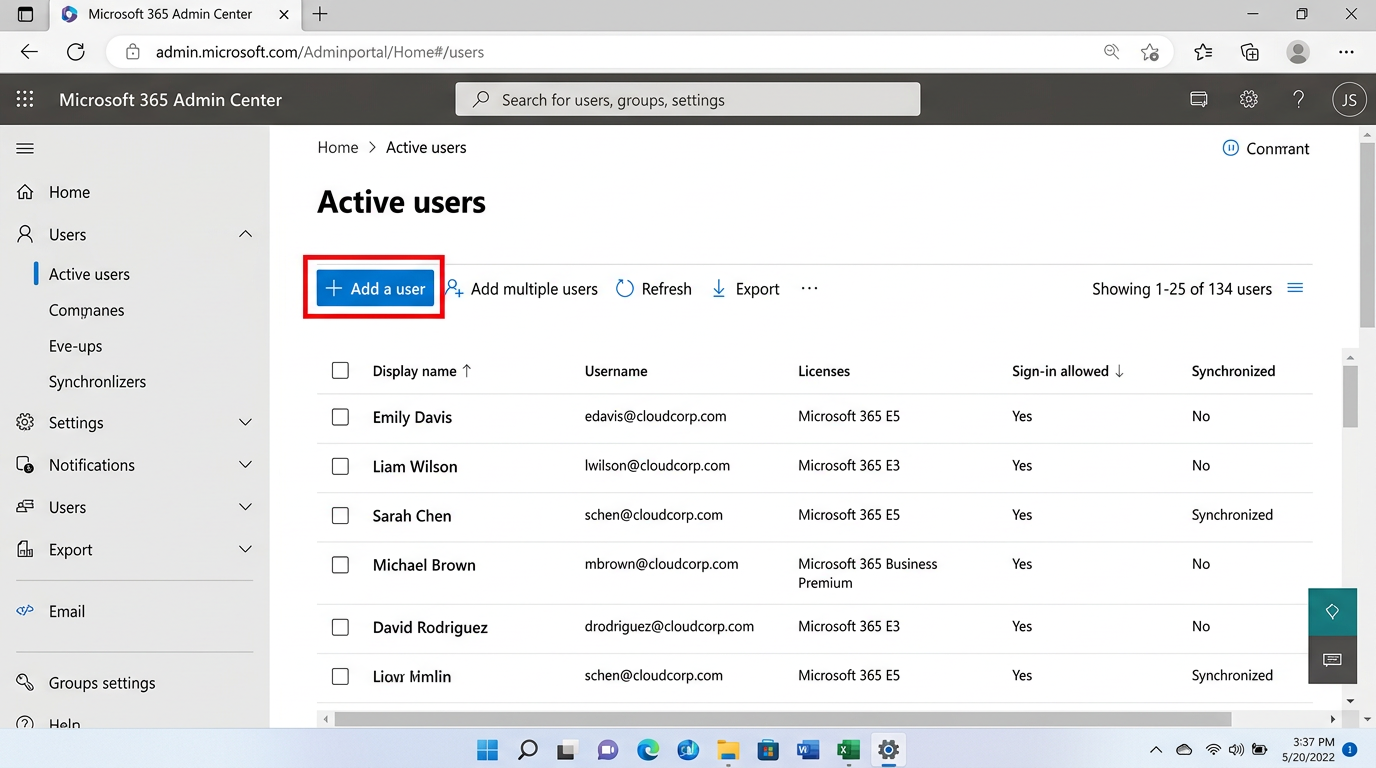
Navigate to Active Users
Log into the Microsoft 365 Admin Center. On the left-hand navigation pane, expand Users and click on Active users.
2
Initiate User Creation
Click the Add a user button located in the top toolbar above the user list.
3
Enter Basic Information
Fill out the First Name, Last Name, Display Name, and Username. Ensure the domain dropdown is set to the primary corporate domain.
ℹ Ensure "Auto-generate password" and "Require this user to change their password when they first sign in" are both checked.
4
Assign Product Licenses
Select the location (e.g., United States) and check the box for Microsoft 365 E3. Scroll down to expand the Apps section to verify Exchange Online and Teams are enabled.
5
Finish and Copy Credentials
Click Next through the Optional Settings page, review the summary, and click Finish adding. Copy the generated temporary password to securely share with the user's manager.